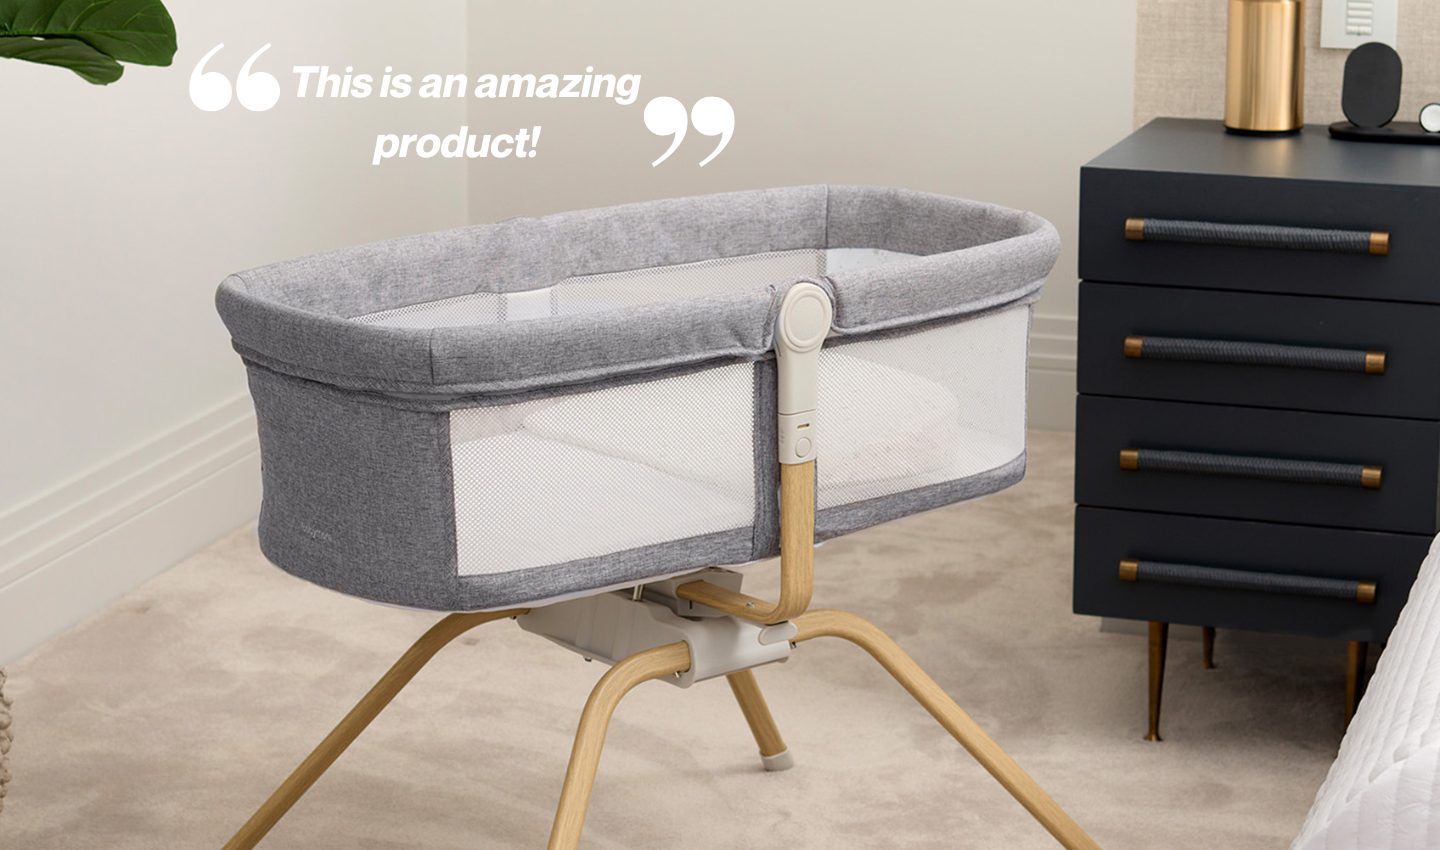
Creating a safe and comfortable nursery for your baby is an exciting journey, and assembling nursery furniture is a crucial part of it. Babymore has a range of nursery furniture sets, made from high-quality, durable materials, ensuring longevity and peace of mind for parents. With easy assembly and a timeless design, Babymore provides the ideal setting for your baby’s early years. This guide will walk you through the process, ensuring your baby’s room is ready for their arrival.
Before you start assembling, make sure you have all the necessary tools and materials. Typically, you’ll need:
– Screwdrivers
– Allen wrenches (often included with furniture)
– A hammer
– Pliers
– A tape measure
– The furniture assembly instructions
– A soft cloth to avoid scratching surfaces
Carefully unpack the furniture pieces and hardware. Lay them out on a soft, clean surface like a carpet or blanket to prevent any damage. Organise the parts by type and size to make the assembly process smoother.
Before diving into assembly, read through the instructions completely. Familiarise yourself with the different parts and steps involved. This will help you understand the overall process and anticipate any tricky sections.
The cot is often the centrepiece of the nursery. Here’s how to assemble it:
Start by connecting the side panels to the headboard and footboard. Use the provided Allen key.
Depending on the cot design, this can be frame and slats. Ensure it is securely attached and level.
Some cots have a movable drop side. Follow the instructions to install and secure it properly.
Double-check all bolts are tight. Place the mattress inside, ensuring it fits snugly.
A changing table is essential for diaper changes. Here’s how to put it together:
Assemble the frame by connecting the legs to the top and bottom panels.
Secure any shelves or drawers according to the instructions. Ensure they slide smoothly and are properly aligned.
Place the changing pad on top and secure it if necessary.
A dresser provides essential storage for baby clothes and accessories. Here’s how to assemble it:
Begin by assembling the main frame, attaching the sides to the top and bottom panels.
Attach the drawer slides to the inside of the frame. Make sure they are level and aligned correctly.
Build the drawers and insert them into the frame. Ensure they open and close smoothly.
To prevent tipping, it’s crucial to secure larger pieces of furniture like dressers and changing tables to the wall. Use anti-tip brackets or straps, following the manufacturer’s instructions. This step is vital for your baby’s safety as they grow and become more mobile.
Once the main furniture pieces are assembled, you can add the final touches to complete the nursery:
Place sheets, blankets, and bumpers in the crib.
Stock the changing table and dresser with diapers, wipes, clothes, and other necessities.
Hang wall art, set up a mobile, and arrange other decorative items to create a cosy and inviting space.
Assembling nursery furniture can be a rewarding experience, providing a sense of accomplishment and ensuring your baby has a safe and comfortable environment. By following this guide and taking your time, you’ll have the nursery ready in no time. Enjoy this special time as you prepare to welcome your little one! Moreover, Babymore helps you in planning when to order your nursery furniture as well. Click on the link to learn more.
Experience the perfect blend of style and functionality with Babymore’s exquisite nursery furniture collection. Designed with your little one’s comfort and safety in mind, our range includes beautifully crafted cots, changing units, and storage solutions that seamlessly integrate into any nursery décor. Transform your nursery into a haven of comfort and elegance with Babymore—where quality meets care.