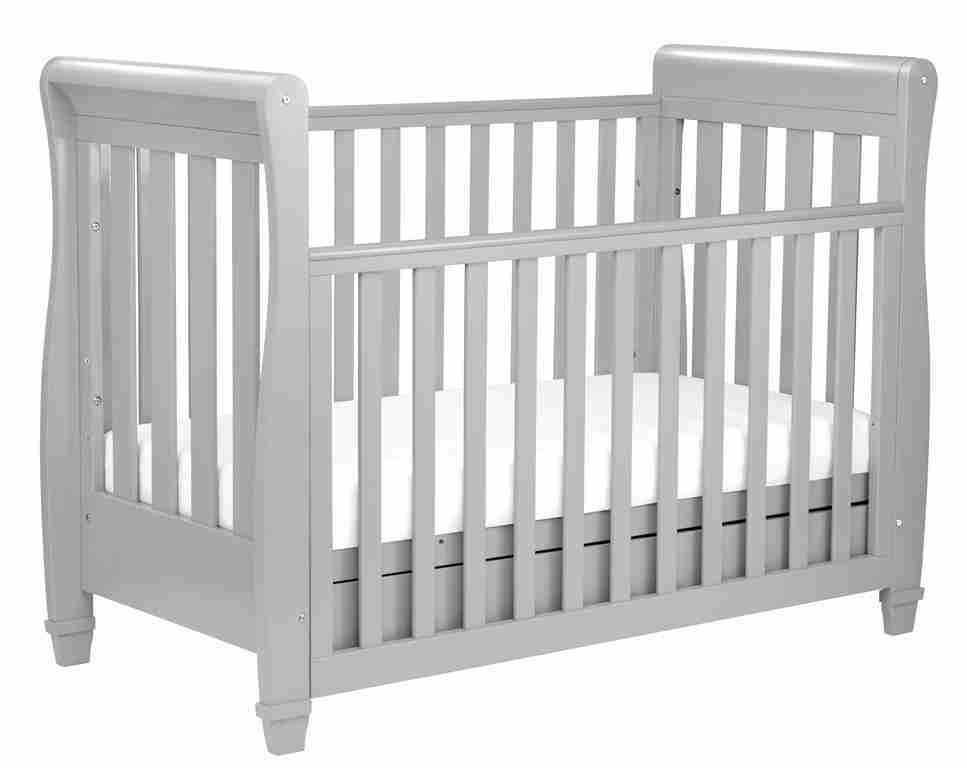
Read the instructions for safe use that come with your cot.
Make sure you follow the assembly instructions step by step.
To prevent assembly errors, we’ve produced an assembly video for most of our drop side cot beds available on Babymore website and YouTube.
If you could not find a video for your specific cot bed, check the video below. Although it’s a different cot bed, it has the same drop side mechanism across a range of our drop side cots.
https://www.youtube.com/watch?v=ssG2IW9EjYw
1min 10 sec into the video, it shows the correct assembly of a drop side rail, and follows with how to operate the drop side.
Review the assembly if drop side does not operate smoothly.
Our tips:
- Ensure the “push” label is facing outward as the side rail needs to be installed the right way around.
- Metal pins attached on cot end/cot legs: check that these are inserted into the correct holes as indicated in the instructions.
- Do not over tighten the metal top pins as unwanted friction would impair the free movement of mechanism, making it difficult to operate the drop side.
- Do not attempt to close the gap between drop side rail and cot end as it allows the rail to slide up and down. By over tightening connection bolts, you will impair the function and damage the cot.
- If a stabiliser bar come with your cot, make sure it is installed behind or under the drop side rail.
- Make sure the floor has a level and even surface. A tilted cot means that the drop side will not slide up and down smoothly.


